
There are times you could use a timer that’s easy to use and easy to find. So, why not put it as a widget on your blog. You can add one to your blog by following these steps.
1. Go here to find the timer.
2. Click on the gear icon in the bottom left of the timer window to go to the settings for the timer. 
3. Highlight and copy the embed code given in the new window. ![]()
4. Go to the Dashboard of your blog.
5. Click on Appearance in the lefthand menu. ![]()
6. Click on Widgets in the lefthand menu.![]()
7. Make sure you can see the widgets already in your Sidebar. You do this by making sure the arrow to the right of your Sidebar name is pointing up (just click on it). 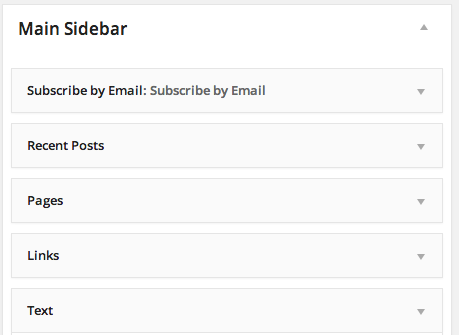
8. Drag a Text Widget from the left side list into the now expanded Sidebar on the right. Drag it up and down in the list to place it in the order you want it. 
9. Paste the code you copied earlier into the big box of the new Text widget.
10. To make sure the new timer fits inside the sidebar of your blog, we need to make it a little smaller. You do that by changing the width and height numbers in the code you just pasted. Basically, cut them in half. Change the “468” to “234” and the “420” to “210” to make it small enough.
11. Now, hit the Save button below the box you just pasted the code into.
12. Enjoy the new timer on your blog. You can change the time on it by clicking the minute or second digit you would like to change. Also, this timer has some predetermined times with music to go with it. Just use the dropdown box above the timer numbers and select the appropriate time/song.